Installation
The easiest way to install StreamPipes is our Docker-based installation. For production-grade deployments, we also recommend looking at our Kubernetes support, which is also part of the installation kit.
Prerequisites
The Docker-based installation requires Docker and Docker Compose to be installed on the target machine. Installation instructions can be found below.
Go to https://docs.docker.com/installation/ and follow the instructions to install Docker for your OS. Make sure docker can be started as a non-root user (described in the installation manual, don’t forget to log out and in again) and check that Docker is installed correctly by executing docker-run hello-world
Supported operating systems
The Docker-based installation supports the operating systems Linux, Mac OS X and Windows 10 upwards. Older windows versions are not fully compatible with Docker. Linux VMs running under Windows might cause network problems with Docker, therefore some manual work might be needed to make StreamPipes run properly.
Web Browser
The StreamPipes application itself will be accessible through a web browser. We recommend a recent version of Chrome ( best experience), Firefox or Edge.
Install StreamPipes
| File | Version | Release Date | Signatures |
|---|---|---|---|
| apache-streampipes-0.98.0-source-release.zip | 0.98.0 | 2025-12-15 | SHA, PGP |
The above release file should be verified using the PGP signatures and the project release KEYS. See the official ASF verification instructions for a description of using the PGP and KEYS files for verification. A SHA512 checksum is also provided as an additional verification method.
Find the latest release notes here: Release notes
installer/compose/ and run docker-compose up -d. Please follow the Docker Deployment guide to explore additional installation options.admin@streampipes.apache.org, password adminSetup StreamPipes
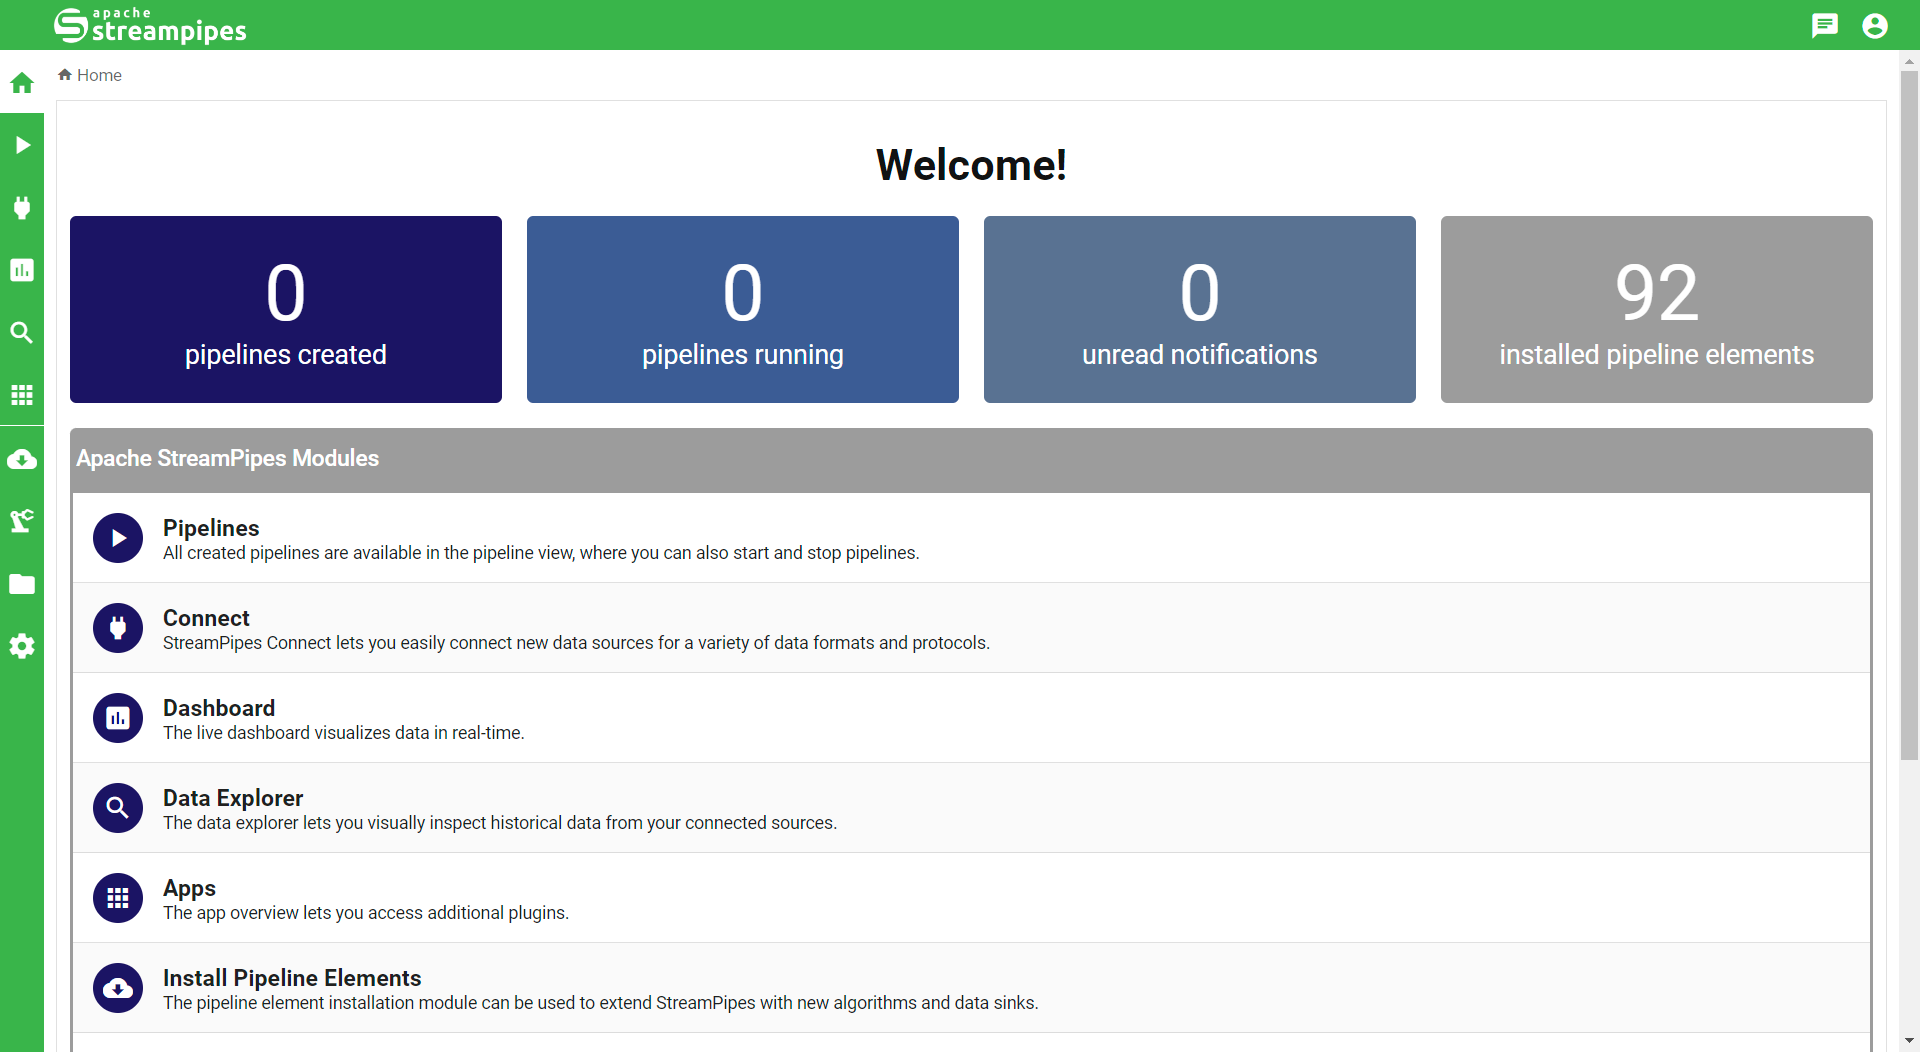
Once you've opened the browser at the URL given above, you should see the StreamPipes application as shown below. At initial startup, StreamPipes automatically performs an installation process. After the installation has finished, continue by clicking on "Go to login page", once all components are successfully configured.
On the login page, enter your credentials, then you should be forwarded to the home page.
Congratulations! You've successfully managed to install StreamPipes. Now we're ready to build our first pipeline!
In most cases, errors during the installation are due to an under-powered system.
If there is a problem with any of the components, please restart the whole system (docker-compose
down and eventually also delete the volumes).
Please also make sure that you've assigned enough memory available to Docker.
Next Steps
That's it! Have a look at the usage guide to learn how to use Apache StreamPipes.