Your first data processor
In this section, we will explain how to start a pipeline element service and install it using the StreamPipes UI.
Open the class ExampleDataProcessor and edit the onEvent method to print the incoming event, log it to the console and send it to the next component without changing it.
@Override
public void onEvent(Event event, SpOutputCollector collector) {
    // Print the incoming event on the console
    System.out.println(event);

    // Hand the incoming event to the output collector without changing it.
    collector.collect(event);
}
Start Processor
Starting from StreamPipes 0.69.0, the IP address of an extensions service (processor, adapter or sink) will be auto-discovered upon start.
The auto-discovery is done by the StreamPipes service discovery mechanism and should work for most setups.
Once you start an extensions service, you will see the chosen IP in printed in the console. Make sure that this IP does not point to localhost (127.0.0.1).
If you see such an IP or the extensions service complains that it cannot resolve the IP, you can manually set the IP address of the extensions service. You can do so by providing an SP_HOST environment variable.

To check if the service is up and running, open the browser on 'localhost:8090' (or the port defined in the service definition). The machine-readable description of the processor should be visible as shown below.
If the service description is not shown on 'localhost:8090', you might have to change the port address. This needs to be done in the configuration of your service, further explained in the configurations part of the developer guide.
If the service does not show up in the StreamPipes installation menu, click on 'MANAGE ENDPOINTS' and add 'http://YOUR_IP_OR_DNS_NAME:8090'. Use the IP or DNS name you provided as the SP_HOST variable or the IP (if resolvable) found by the auto-discovery service printed in the console. After adding the endpoint, a new processor with the name Example should show up.
Now you can go to StreamPipes. Your new processor 'Example' should now show up in the installation menu ("Install Pipeline Elements" in the left navigation bar). Install it, then switch to the pipeline view and create a simple pipeline that makes use of your newly created processor. In case you opened the StreamPipes installation for the first time, it should have been automatically installed during the setup process.
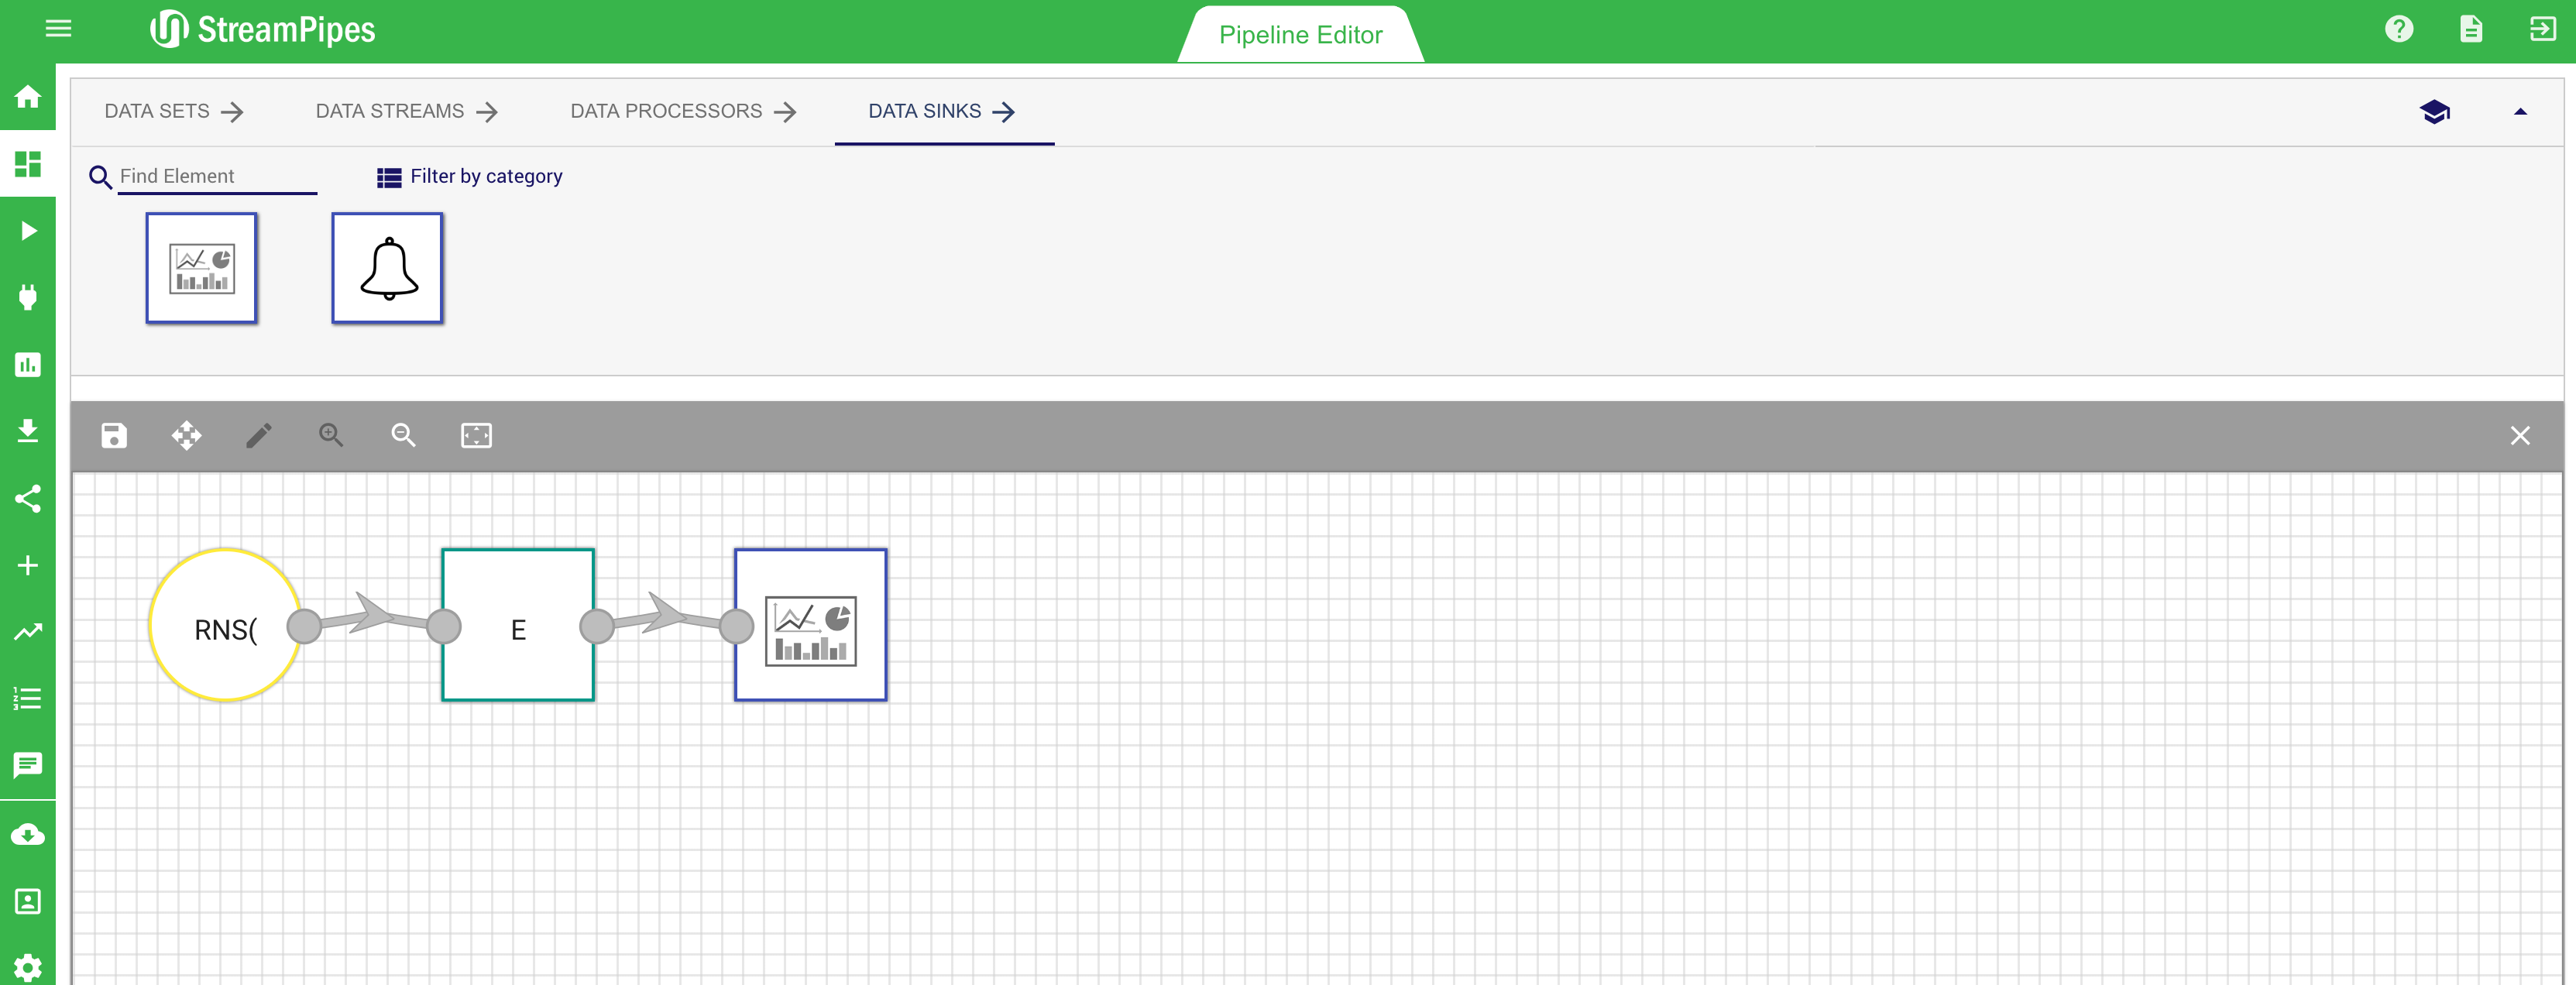
Start this pipeline. Now you should see logging messages in your console and, once you've created a visualization, you can also see the resulting events of your component in StreamPipes.
Congratulations, you have just created your first processor! From here on you can start experimenting and implement your own algorithms.